之前我寫了一個.NET Core的爬蟲程式,放在GitHub上並啟動GitHub Actions,讓Actions每隔一段時間就幫我執行爬蟲程式,並將結果推送到另外一個respository去,想一想應該要來筆記一下。

我們程式專案儲存至GitHub Respository後,可以設定在GitHub Action 執行CI/CD這類持續整合/持續部屬的服務。只要在專案中設定GitHub Action的Workflows工作流程文件檔yml檔,並在yml中設定觸發持行的時機,GitHub Actions就會幫我們自動執行。
整個Workflows的執行是運行在Azure virtual machine中的Standard_DS2_v2等級虛擬機器上,提供windows、ubuntu、macOS 三個執行環境,並有對應label,要用windows的話可以在yml檔中寫windows-latest。
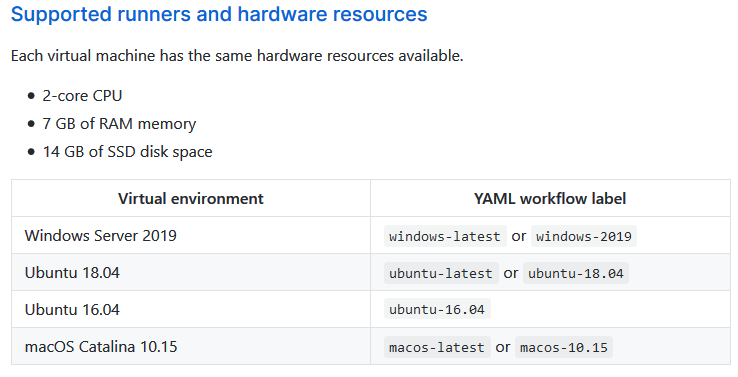
文件上有寫說:
The GitHub-hosted runner application is a fork of the Azure Pipelines Agent.
個人感覺GitHub被微軟買走之後才開始提供了Github Actions這個服務,也許我們可以說整個Github Actions就算都算源自於Azure Pipelines ???
內容目錄
開始使用GitHub Actions
使用GitHub Actions第一個步驟就是先設定yml檔,雖然可以完全自己動手來寫,不過個人蠻常寫錯的,我們就先從GitHub提供的範本來改。
設定yml
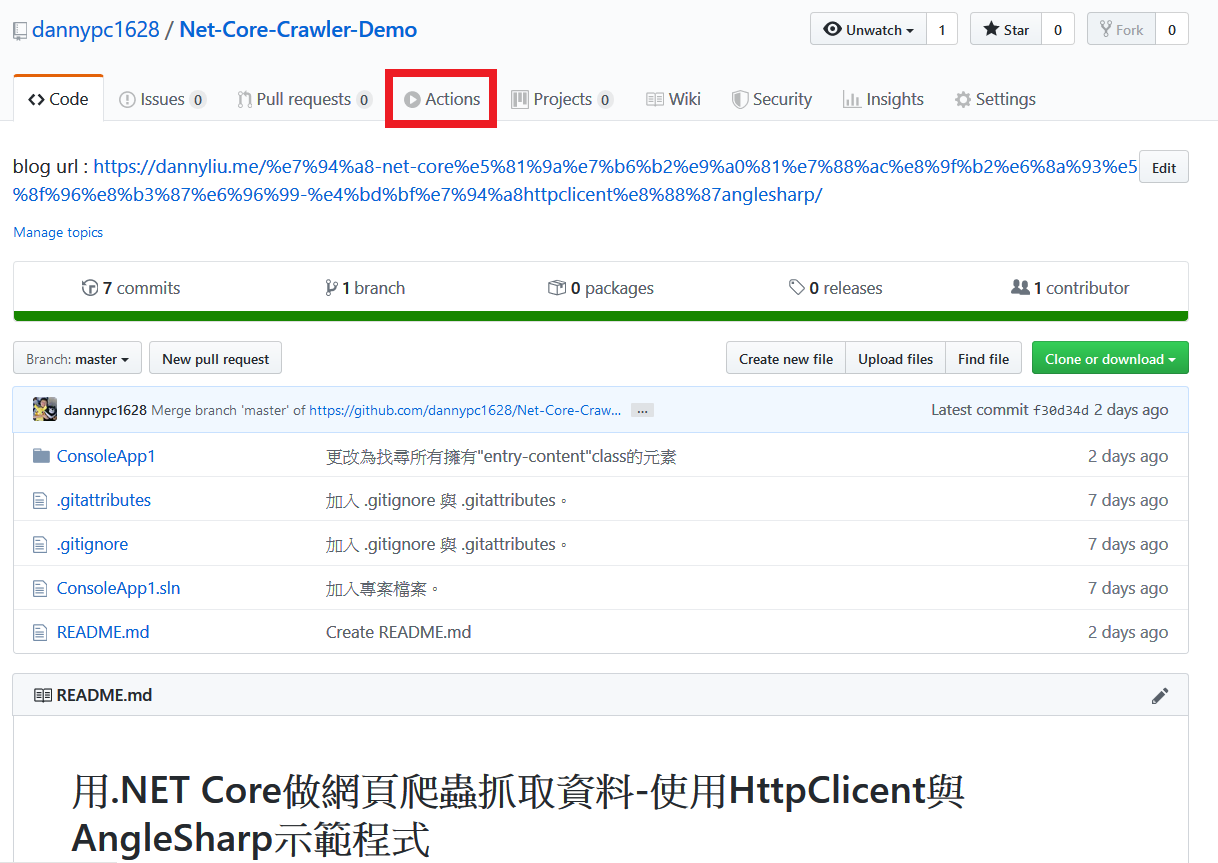
我們去自己的GitHub儲存庫中,點選的Actions標籤。這邊我點的是.NET Core的專案
選擇範本
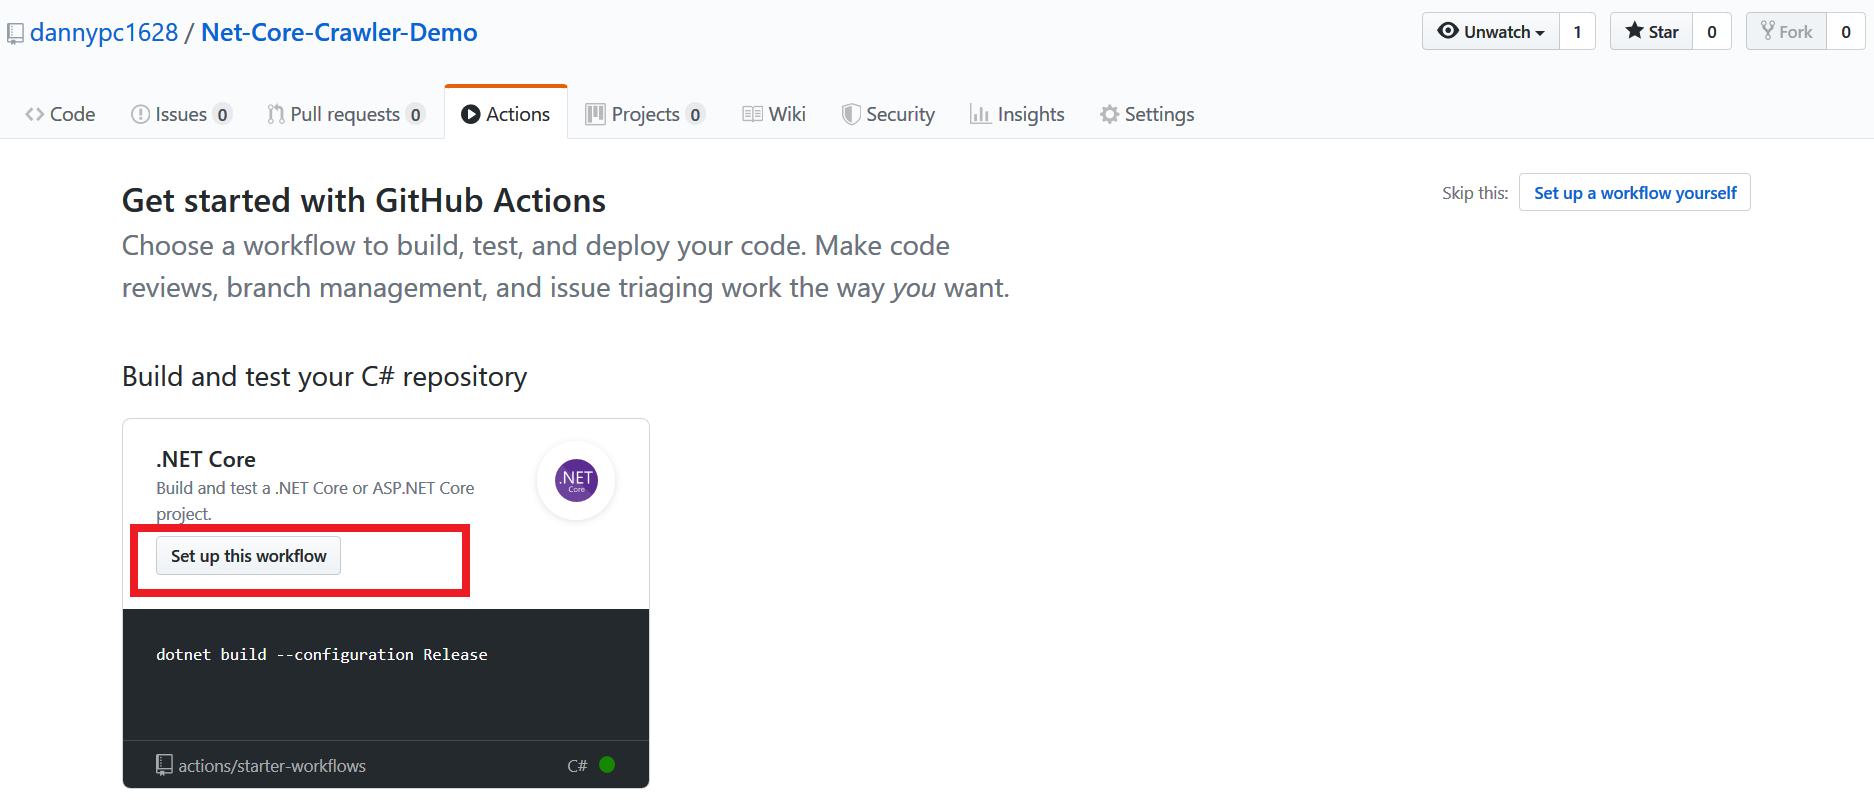
進來Actions標籤後,可以看到GitHub建議我們可以使用.NET Core的yml範本來更改,成為我們的Workflows工作流程設定。點選Set up this workflow來開使設定。
範本預設yml檔
可以看到.NET Core的yml範本,如圖
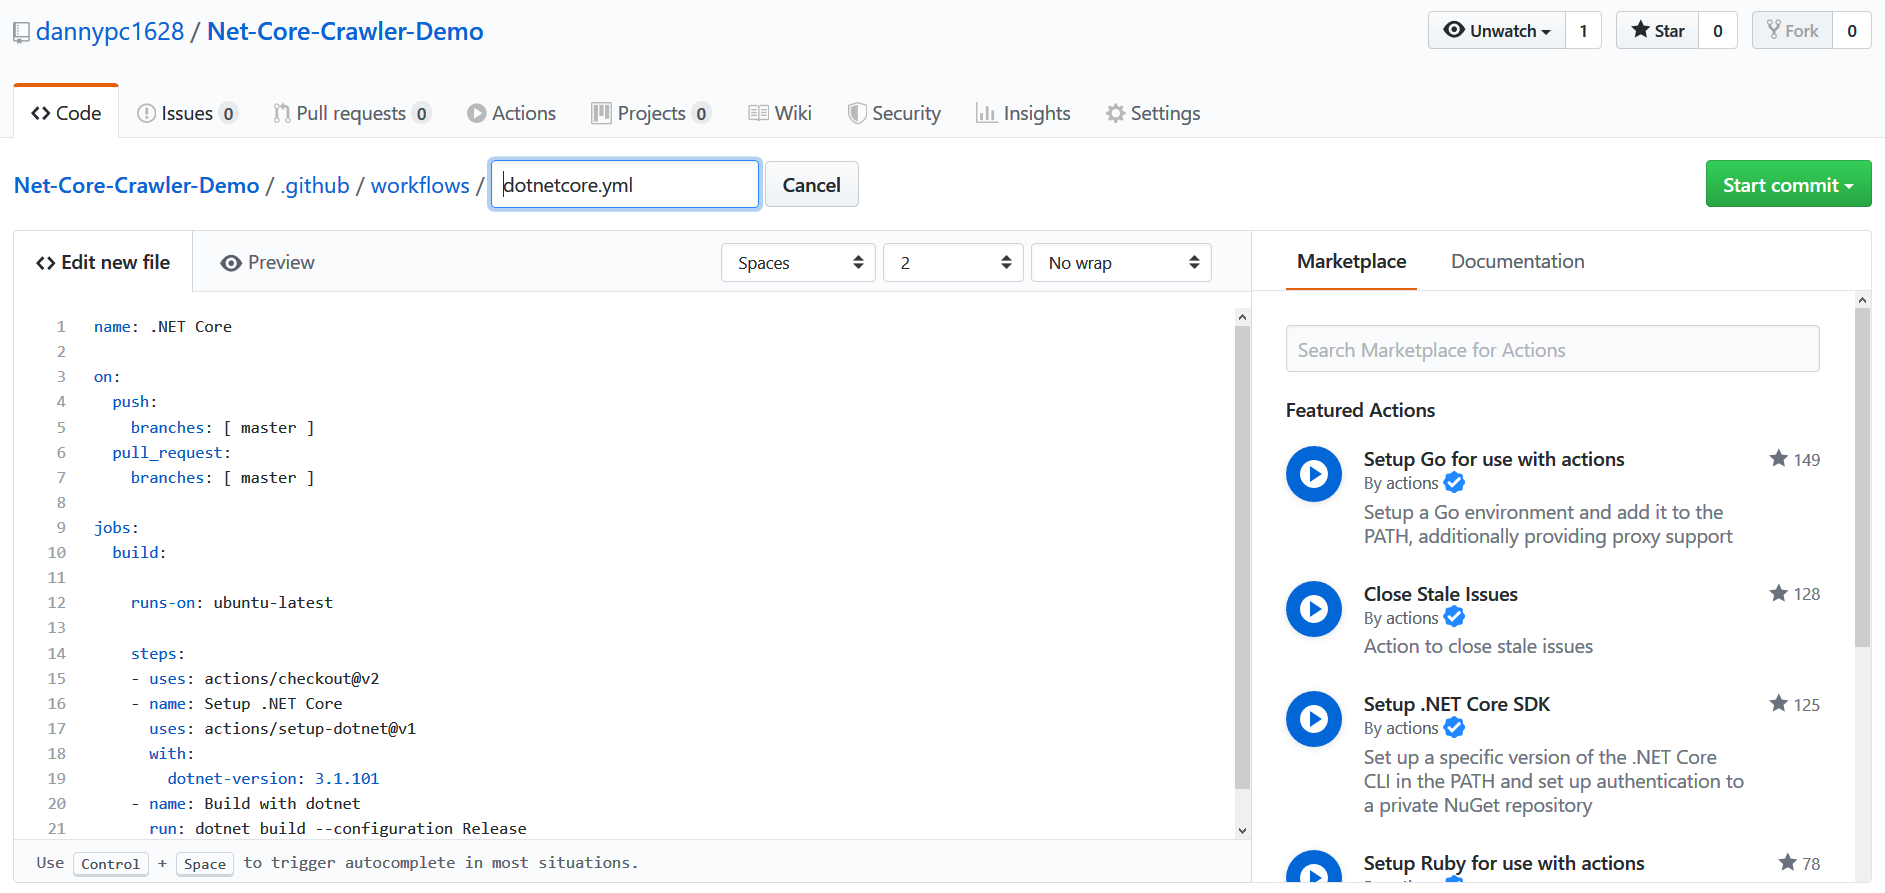
name: .NET Core

on:   #指什麼時候要執行這個Workflows工作流程
  push:
    branches: [ master ] #觸發執行的分支
  pull_request:
    branches: [ master ] #觸發執行的分支

jobs:
  build:

    runs-on: ubuntu-latest  #告訴GitHub Action這個Workflows要在什麼電腦環境執行

    steps:
    - uses: actions/checkout@v2   #會幫我們的專案下載至剛建立的電腦環境中的臨時資料加
    - name: Setup .NET Core
      uses: actions/setup-dotnet@v1
      with:
        dotnet-version: 3.1.101   #設定要使用的dotnet core版本,會在執行Workflows時自動幫我們安裝該版本的.Net Core
    - name: Build with dotnet
      run: dotnet build --configuration Release   # run後面接的是會在這個專案中執行的指令
編寫好之後按右邊的Start commit就會出發push事件執行這個Workflow
定時執行GitHub Actions只能在master分支
cron 後面用字串接要自動執行的時間 ‘分 時 天 月 每週’
on:
  push:
     branches:
     - Github-Actions
  schedule:
    # * is a special character in YAML so you have to quote this string
- cron: '0 0 * * *' #每天UTC時間的0時0分執行在GitHub Actions中執行多行指令
多行要標示|符號,要將指令拆成多行執行
 run:|
    dotnet build --configuration Release
    dotnet run
關於 GitHub Actions 錯誤 No such file or directory 找不到要執行的專案
注意:整個Workflows中似乎會依- name來產生不同的臨時資料夾,移除name並改成多行指令模式
    - name: Build with dotnet
      run: dotnet build --configuration Release
    - name: Run with dotnet
      run: dotnet run